
Orca Slicer
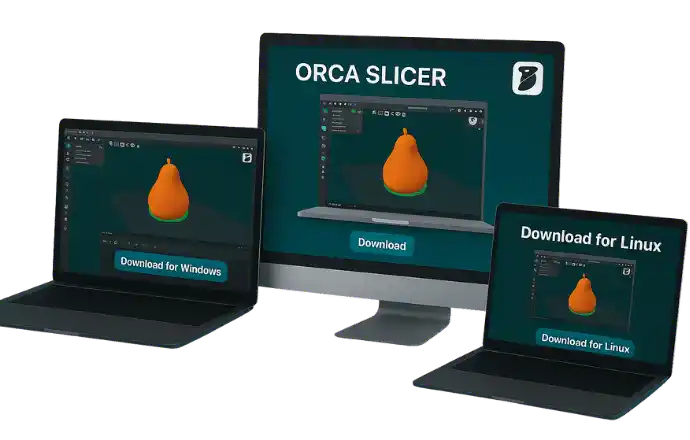
Orca Slicer is a 3D printer slicer software that works on Android, Windows, Mac, and Linux. It is based on Bambu Studio and works with more printers than Prusa Slicer. Orca has more calibration tools, better fine-tuning controls, advanced slicing algorithms, and additional profiles
More Control
| Name | Orca Slicer |
| Developer | SoftFever |
| Size | 136 MB |
| Version | 2.3.0 |
| Nightly Update | v2.3.1 |
| Last Updated | 17 September, 2025 |
| Alternative | Creality Slicer |
What is Orca Slicer?
Orca converts 3D models into G code. Printers understand G code language easily. So orca helps to print better after converting 3d models. It also slices the 3D models to thin horizental layers and create path for printer nozzle. Hence you will get high quality printing, better output and more flexible projects.
Orca Slicer reduces Z-seams with Seam Gap and Wipe on Loops, ensuring smoother prints with less blobbing and precise seam control. Users will get more control over prints because of additional printers profiles. Main benefit is that orca works on higher number of printers than orher traditional slicers.
OrcaSlicer has 10.7k+ stars, 1.4k forks, and 443 contributors on Github. It has seen 67 official releases, with the latest being v2.3.0 (March 20, 2025)
Main Features of OrcaSlicer
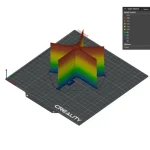
Auto Calibration
Orca has advance calibration tools that work in auto mode as well. Some calibrations, such as the temperature tower test, flow rate calibration, retraction test, tolerance testing, and others, are included.
Polyholes Support
This feature prevents deformation caused by numerical miscalculations. It also ensures the accuracy of holes and circular shapes in 3D designs.
Klipper Support
It works with Klipper firmware. This allows users to optimize prints on their printers, enabling Klipper for fast and accurate printing.
Granular Controls
It provides more granular controls than other slicers. These controls help create desired 3D products. Users can adjust parameters such as print speed, layer heights, pressure, and temperatures.
Sandwich Mode
Sandwich mode is a feature that helps users control layer properties, such as applying different patterns at varying densities from the inside to the outside. This produces clear and unique prints.
Easy to Use
Any newbie can use Orca Slicer easily. Thanks to its intuitive interface and straightforward navigation options, it is very user-friendly. You can create print models effortlessly, whether you are an expert or a beginner.
Works with 3D Printers
One of the main reasons for the increasing downloads of Orca Slicer is its compatibility with a wide range of 3D printers. This gives Orca more flexibility compared to traditional software.
Open and Free
Orca Slicer is an open-source project. It is made by the people, for the people. There are no charges, and it is absolutely free to use.
Printer Control
Now you can control your printer’s interface from your PC or laptop. This makes it much easier to perform 3D printing tasks smoothly.
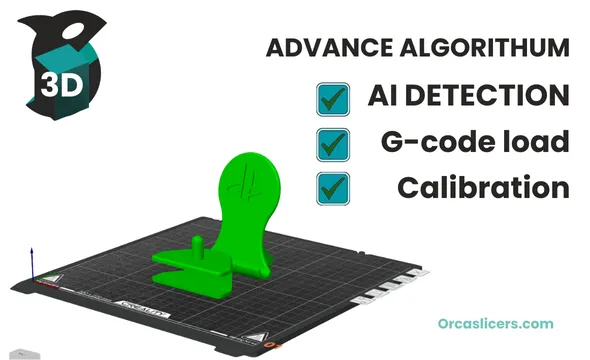
Advance Features

Temperature Tower Test

Pressure Advance Settings
Manage All Printers
Built In Tests
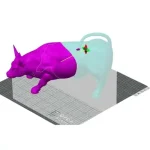
Measuring and Scaling
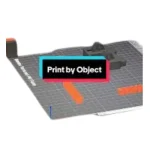
Print One Piece at a Time
Download Orca Slicer (Latest)
Upgrading from 2.2 version or earlier may make custom filaments available to all printers. To limit them, set printer-specific dependencies. In 2.3+, new custom filaments are automatically linked to the current printer model.
OrcaSlicer v2.3.1 Beta
Some Bugs found in 2.3.1 alpha are fixed in latest release.
Orca v2.3.0 Official
For Windows
- Windows 7 or later
- 500 MB free space
- Multicore 64-bit processor recommended
- Minimum 4 GB RAM (8 GB recommended)
- Screen resolution: 1280 x 800 pixels
For Mac (arm 64)
- High Sierra (macOS 10.13) or later
- Supported Macs: Intel-based or Apple Silicon (M1/M2) with Rosetta 2
- 4 GB RAM minimum (8 GB+ recommended)
- 500 MB free disk space
- GPU with OpenGL 2.0+ support
- 1280 x 800 minimum resolution
- Size: 134 MB
For Linux (Older Distros)
- Modern Devices like Linux distributions (e.g., Arch, Fedora, Debian, Ubuntu)
- Processor: Intel Core i3 or equivalent, 64-bit
- 500 MB free space
- 4 GB RAM minimum (8 GB recommended)
- Graphics card should support OpenGL 2.0 or higher
- Screen resolution: 1280 x 800 pixels
- Size: 108 MB

If you are facing issues check orca Issues and solutions and compile process If you have trouble running it, use the command: chmod +x /path_to_appimage/OrcaSlicer_Linux.AppImage.
How To Compile (Build Guide)
For Windows, you need Visual Studio 2019, CMake (3.14+), Git, Git LFS, and Strawberry Perl.
To build, run:
build_release.bat
Make sure you use the x64 Native Tools Command Prompt, run git lfs pull after cloning, and confirm that the Windows SDK is installed.
On macOS, install Xcode Command Line Tools, CMake, Gettext, Libtool, and Automake.
Build using:
./build_release_macos.sh
You’ll need Xcode 11 or higher, adjust scheme settings in Xcode, and check Homebrew dependencies.
Linux builds use Docker Engine, Git, and Build Essentials.
Run the following commands:
./DockerBuild.sh
./DockerRun.sh
Verify Docker permissions, check kernel version requirements, and review the Dockerfile setup before running.
For Ubuntu/Debian, dependencies are installed automatically via the script.
Use these commands:
sudo ./BuildLinux.sh -u
./BuildLinux.sh -dsir
Run with administrator rights, verify package manager sources, and check for secure boot conflicts.
Orca Supported printers
Creality Printers
Creality is well-known for its Ender and CR series. These models are budget-friendly and a good choice for beginners who want reliable prints.
Prusa Printers
Prusa offers high-quality machines like the i3 MK3 and the larger Prusa XL. They are popular for consistent performance and strong community support.
Anycubic
The Mega and Kobra series from Anycubic provide affordable options with decent build quality. Many hobbyists prefer them for everyday 3D printing.
Artillery
Artillery printers, such as the Sidewinder and Genius, are known for quiet operation and large print volumes. They are user-friendly and great for bigger projects.
Bambu Lab
Bambu Lab makes advanced printers like the X1 series and P1P, packed with smart features. They are ideal for users who want speed and automation.
Custom Builds
Custom setups allow more flexibility with features like dual extruders (IDEX) or multiple tools. They work well for specialized printing needs. You can also explore slicers like PrusaSlicer and Cura for better results.
How to Import 3D Models in OrcaSlicer
Before slicing, you need a model. Here are three simple ways to import it:
- Click the Cube Icon
Use the cube icon in the top toolbar to browse and import your 3D file. - Drag and Drop
Simply drag your file from your computer onto the build plate. - Use the File Menu
Go to File → Import, select your file type, then choose your model
Latest Updates
As Orca is an open source project, developers also contribute to it on GitHub. Here are some of the new updates in the latest version. Also know the update process.
How to Stup Orca Slicer?
After installing, the first thing you’ll see is a blank interface. To begin:

Try some other slicers
Frequently Asked Questions
Official Help
Because it’s an open-source project and people frequently contribute to it, always stay updated with the latest developments
Orca Slicer is now available in multiple languages, including English, French, Spanish, Brazilian Portuguese, German, and Chinese. It is licensed under the GNU Affero General Public License, which is why it is free to use and modify.
Disclaimer: This site is an independent resource for learning and information. It has no link or approval from Orca Slicer or its developers.
All software links go to official or trusted sources, such as GitHub. We do not host or own these files, software, or trademarks. Any files here are only those freely shared under their original license.